[!] The blog has moved [!]

The blog has moved to http://carlitoscontraptions.com/.

You will be redirected to the new URL in 5 s. Sorry for the inconvenience.

December 24, 2006

CD Lamp²

Long ago, I promised a CD lamp, so here it is. It took me a long time to complete it since I had to order some LEDs (actually, my girlfriend bought them and gave them to me as a gift), and to buy some solder.

This is a simple project that requires some skills in cutting and shaping wood and lots of old CDs.

The Idea

To make a nice looking lamp that uses CDs to shade the light. The lamp should be composed of two overlapping columns of CDs sandwiched between identical pieces of wood. It should be very energy efficient and output a reasonable amount of light (which implies LEDs).


Materials
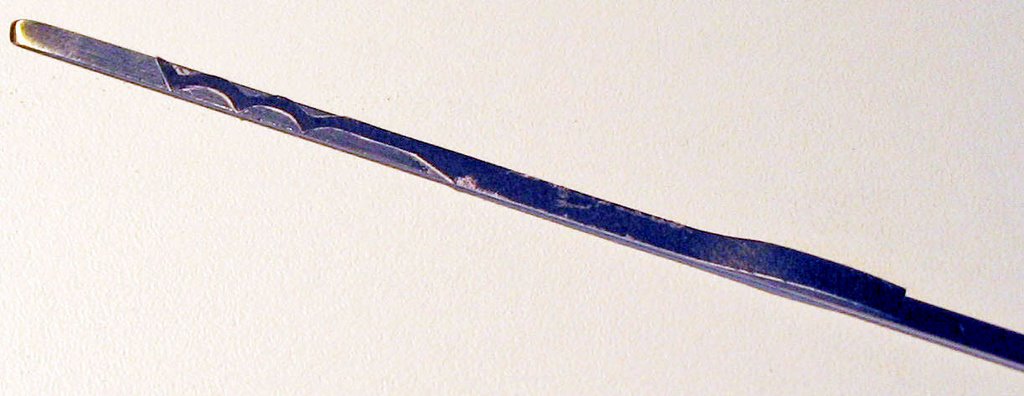
  • 6 metal rods (I got them from an old photocopier I found in the garbage)
  • 4 special washer for holding the rods (from the same photocopier)
  • lots of CDs
  • 2 pieces of wood (from an old drawer I found in the garbage)
  • 10 LEDs (6 white and 4 blue in my case)
  • A resistor (for current limiting for the LEDs)
  • A switch
  • A 5V power adaptor
  • A calcium tablets package and a bottle cap (for the switch casing)
  • 4 protective rubber pads.

Preparation

Trace the layout on the wood. The layout consists of two circles spaced by ~12 cm so when the CDs are centered at the center of the circles, the CD holes don't overlap (while the rest of the CD does overlap). Since I had very small pieces of wood, there was very little room for error (in fact, there was no room for error). I traced the layout using a compass and a ruler (pretty standard), and I cut the wood using a jigsaw.

The lamp is symmetrical so the base and the top should be identical.

It is important to thoroughly sand the wood so it is smooth and nice to the touch. It is good to use a large grit sandpaper first and a fine one to give it a nice finish.

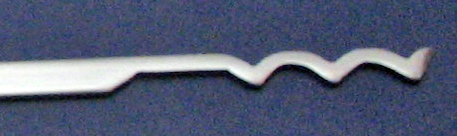
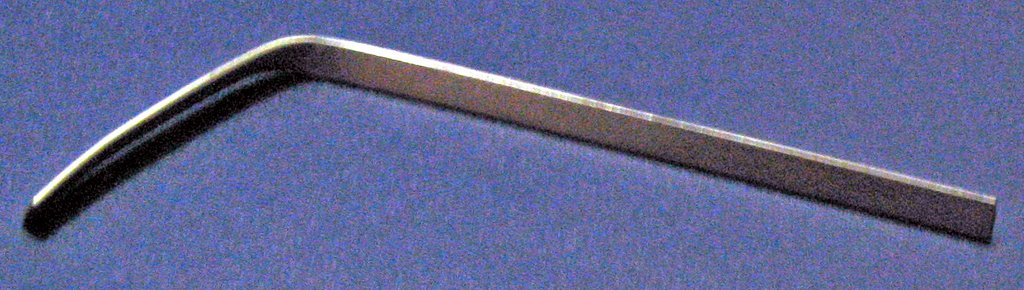
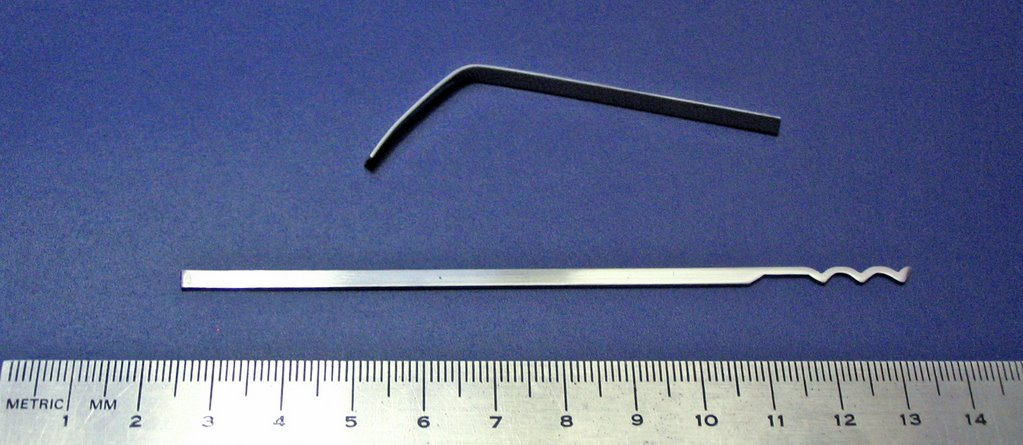
Drill the holes for the metal rods. Four of the rods will hold the exterior of the CDs and should go trough the good. The two remaining rods hold the CDs at their intersection. should not go through the wood (they should be only deep enough so the metal rods stay in place once the the top is in place).

The rods hold the CDs inside the lamp and keep the base and the top pieces of wood together.

The light will be provided by two 5 LEDs arrays in parallel as seen in the following circuit schematic.
I alternated blue and white LEDs for the arrays soldered together in order to form a column that fits inside the CD holes. Remember to use a current limiting resistor for the LEDs (see this current limiting resistor calculator).

The switch should go on the power adaptor wire. I was not lucky enough to have a switch ready made for that propose so I built a case for the switch using a calcium tablet case and a bottle cap.

Assembly

Place the exterior rods in the appropriate holes on the Top piece and place the special washer at the base. The alternating from one side to the other, place CD pairs until the top of the lap is reached (forming two overlapping columns). The CD pairs are composed of two CDs back to back (the shiny face on the outside).

Then, place the two LED arrays and connect them to the power source and the switch. Make sure the LEDs are pointing to the from of the lamp.

Once the LEDs are in place the smaller metal rods and the bottom can be placed. Fasten the bottom using the washers.

Place some rubber pads on the bottom so the lamp does not scratch delicate surfaces.

The lamp is done. Enjoy!
Note: no CDs where harmed during the construction of this lamp.

December 12, 2006

Creative Commons

Here is a very nice video about the Creative Commons license. If you watch it and click on the ad at the end you'll be supporting the Commons. For more info and more videos about the Creative Commons, visit this site.

December 06, 2006

Quick and Cheap Laptop Lamp

I built this quick laptop lamp some time ago for my mom. It is very simple and requires very few materials.

Materials
  • 1 type A male USB plug
  • 1 light bulb (that works well at around 5V)
  • 1 lamp body (I found mine in the garbage)
First, I thoroughly cleaned, sanded, and polished the lamp body (which comes from a sort of old reading lamp).

Once the body was clean and shiny (it was completely black before) , I removed the lamp power connector and replaced it with the USB plug. In order to achieve this, the red (pin 1) terminal must be connected to the positive lead and the black (pin 4) terminal, to the lamp ground.

The lamp is basically done.

Since I did not have the appropriate light bulb for the lamp I had to adapt a bulb by adding a solder blob on its side. Now it fits perfectly.

This lamp won't be as power efficient as the LED ones but it is cheap, quick and very simple to build. Enjoy.

December 04, 2006

Bogotá Rake

A Bogotá (besides being a city) is a very effective lock picking tool. It is surprisingly easy to build and allows you to open lots of locks very quickly and easily. I have been able to open many locks just minutes after having this little tool done (including standard door and bicycle locks).

For this project you only need one street sweeper bristle. You can find these on the streets after a street sweeper passed by. Their rotating brushes leave behind these precious bristles.


First you need a template. I found this very good one from Exodus5000.
You have to print it at its original size (@ 500 pixels/inch) onto a piece of paper, cut it using scissors or some other cutting device, and paste the paper using normal glue onto the bristle (after it has been cleaned of course). You should get something like this:


Then, using a permanent marker paint around it and remove the paper.

Now, use some files to remove all the painted sections until you get the desired shape.

Sand it very thoroughly. It is very important. First use a medium grain sandpaper and the a fine one. In order to sand all the curvy sections, I used a piece of sandpaper rolled around a medium nail. In the end, it should be smooth as ....hum... as something very very smooth. This allows for a fluid motion of the Bogotá inside the lock (important if you want to get the lock open).

I accidentally broke my bristle. With the broken piece I built a tension wrench. it is a bit short, but it works well. If you want one, just bend the bristle (not to much or you may snap it)

For those who don't already know, a tension wrench is used to apply a small tension to the lock while you pick it. See this article for more information.

With these tools you can now start a life of crime. You should be able to open simple locks (and perhaps more complex ones) in a couple of minutes. Simply apply a small tension to the lock (as if turning it with a key) using the tension wrench, and jiggle the Bogotá inside the lock rapidly and randomly. The lock should open in less than a minute (keep trying if it doesn't).


Disclaimer: I do not condone leading a criminal life. However, if my blog does inspire you to become some sort of criminal and you succeed well at it, please share a bit of your earnings with me. After all, you will be doing well thanks to me.

December 03, 2006

Wireless AM receiver

This is the schematics for a wireless AM receiver composed of a tuned amplifier, a AM demodulator, and an audio amplifier.


This is the radio receiver implemented on a breadboard.

I'll post more details soon.

Opamp

My teammate and I designed an integrated op amp. The circuit is implemented using Gennum GA911 technology. It is built so we can test many configuration (i.e. using active or passive biasing). Se below the circuit layout and some pictures of the resulting chip in it's natural environment.

Active-loaded differential amplifier. This is the first Stage of the op amp, with a 5o dB Gain.

Class-AB output stage. This second stage alows for driving small loads and increases the overall gain a bit (~10 V/V).

Note: all circuit schematics account for the pin capacitance of the packaged IC (Cpad = 5 pF). Also the loading effect of the oscilloscope probe used to perform the experimental measurements is accounted for in the schematics by modeling the probe as a resistor (Rprobe = 1 MΩ) in parallel with a capacitor (Cprobe = 15 pF).

IC layout (done using Electric).

The chip (a.k.a. #5) being tested.

The chip in its natural environment.


A close up on the naked chip. Pretty neat.

I'll post more details soon.