Initial State
I got my palm IIIc from my brother’s uncle. When I got it, the case was cracked, the battery was obviously dead, and the cradle, the charger and the stylus were missing.
The charger
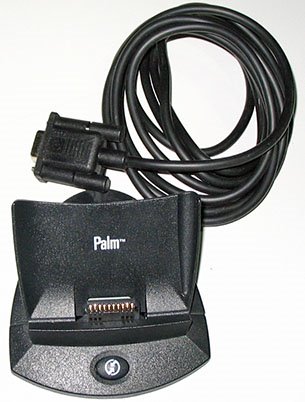 Fortunately, I’m very lucky and I found a brand new palm cradle in the garbage (along with many other power adaptors). The cradle has a serial port connection to sync the palm but no power input for charging. I went on looking for the Palm IIIc pinout and found this very useful site.
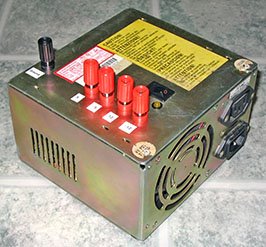
I learned that the palm IIIc has a built in charger and it only needs a 5V in pin 9 in order to charge. So I browsed through the many power adapters that I had and found a 5V DC power adaptor.
Another option is to use the 5V coming out the USB ports by using a USB cable. But that would waste one precious USB port.
I installed a connector for the power adaptor on the back of the cradle by making a square hole using a drill and a small file. If the hole is tight enough, there is no need for glue (I always try to avoid gluing).
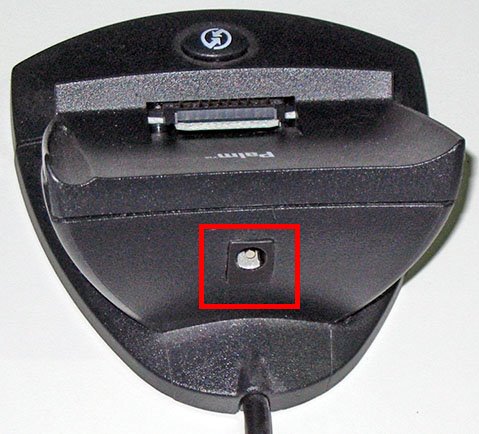 I soldered the connector to the appropriated pins ( + to pin 9 and ground to pin 10). There are holes in the cradle PCB named E1 to E10 corresponding to each pin, so soldering was easy.
The Stylus
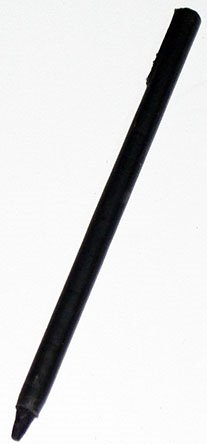 My brother was kind enough to make a stylus for me. He took a small wood rod slightly thinner than the standard stylus (according to the hole in the Palm), cut it to the right length, sharpened one end with a pencil sharpener, painted it black with a permanent marker, and covered it (except for the sharp end) with heat shrink. I added the tail of a cable tie between the heat shrink and the wood in order to create the little protuberance present in the original stylus.
The soft wood we used is perfect since it doesn’t scratches the screen, we got it from a construction kit bought at the 1$ store.
The Case
Using electric tape in the inside and crazy glue in the outside I repaired the case. Since the bottom screws were missing and the screw holes were broken, I drilled trough the case (and the Cucaracha Negra PCB) where the original holes were in order to put some screws of my own.
The End Result
 The Palm IIIc is now functioning and, the batteries can be easily charged, and the screws in the front are very sexy looking.